Frame Your Masterpiece: DIY Guide to Framing 11×17 Art Like a Pro
Remember that amazing print you snagged at the art fair last summer? Or maybe you finally finished that hand-lettered quote you’ve been working on for months. It’s an 11×17 piece, and it’s just… sitting there. Leaning against a wall, collecting dust, waiting for its moment to shine. Believe me, I get it. I’ve been there with countless prints, posters, and even my own amateur attempts at watercolors. The frustration of knowing you have something special, but lacking the confidence to frame it properly is real.
Framing, especially custom framing, can seem intimidating and expensive. You walk into a frame shop, and suddenly you’re bombarded with choices: mats, mouldings, glazing options… it’s enough to make your head spin, and your wallet weep. But what if I told you that you could achieve a professional-looking frame job, right in your own home, without breaking the bank? Sounds good, right? This guide is all about demystifying the process of framing 11×17 art, empowering you to take control and create a stunning display that reflects your personal style. So, grab your art, clear some space, and let’s get framing!
Gathering Your Supplies: The DIY Framing Toolkit
Before we dive into the nitty-gritty, let’s assemble our arsenal. Having the right tools and materials on hand will not only make the process smoother but also contribute to a more professional-looking final product. Don’t worry; you don’t need a fully equipped woodshop. We’re aiming for efficiency and affordability here.
First, you’ll need your frame. You can purchase pre-made frames in standard sizes like 11×17 (look for ones with a decent lip to hold your artwork securely) or, if you’re feeling ambitious, you can build your own frame from scratch using wood moulding. Besides the frame itself, other essentials include a measuring tape, a utility knife or mat cutter (if you’re cutting your own mat), a self-healing cutting mat, acid-free foam core backing, acid-free mat board (optional, but highly recommended), picture hanging hardware (D-rings, wire, and hooks), glass or acrylic glazing (plexiglass is lighter and shatter-resistant), frame assembly tools (corner clamps, wood glue, or a miter saw if building your own frame), and archival tape or acid-free hinging tape.
Choosing the Right Frame: Style and Substance
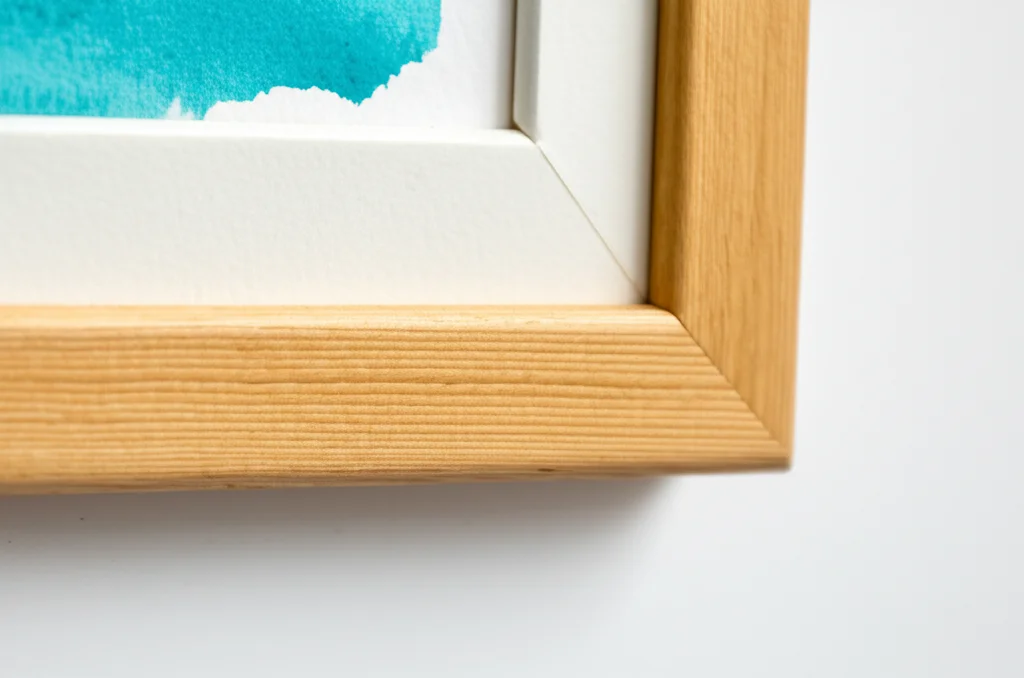
The frame you select is more than just a border; it’s an integral part of the artwork itself. It should complement the piece, enhancing its visual appeal without overpowering it. Consider the style of your art. Is it modern and minimalist? A sleek, simple black or metal frame might be the perfect fit. Is it more traditional or rustic? A wood frame with a warm tone and subtle texture could be a better choice. Don’t be afraid to experiment with different styles to find what looks best to your eye.
Beyond aesthetics, think about the frame’s construction and materials. Is it sturdy and well-made? Is it acid-free to protect your art from damage over time? Cheap frames might save you money upfront, but they can deteriorate quickly and potentially harm your artwork in the long run. Look for frames made from quality materials and with durable construction.
The Importance of a Mat: Breathing Room for Your Art
A mat is the border between your artwork and the frame. It serves both an aesthetic and a practical purpose. Aesthetically, it gives your art “breathing room,” preventing it from looking cramped or overwhelmed by the frame. It also draws the eye inward, focusing attention on the artwork itself. Practically, a mat provides a buffer between the art and the glazing, preventing the art from sticking to the glass or acrylic. For an 11×17 print, consider a mat with a width of 2-3 inches. It’s a great starting point!
When choosing a mat, opt for acid-free mat board to protect your art from deterioration. Consider the color and texture of the mat as well. A neutral color like white, off-white, or cream is generally a safe bet, but you can also experiment with colors that complement the artwork. Just be careful not to choose a color that clashes or distracts from the art itself.
Step-by-Step Guide: Framing Your 11×17 Art
Alright, let’s get down to the actual framing process. Don’t worry; it’s not as complicated as it seems. Just follow these steps carefully, and you’ll have a beautifully framed piece of art in no time.
First, prepare your workspace. Lay down a clean cloth or paper to protect your artwork and frame from scratches or dirt. Gather all your supplies and make sure you have ample space to work comfortably. Measure your artwork carefully. If you’re using a pre-made frame, ensure that it’s the correct size. If you’re cutting your own mat, use these measurements to determine the size of the mat opening. Now its time to select your mount board. To mount your artwork, follow these steps:
- Clean the glass or acrylic glazing thoroughly.
- Position your artwork within the mat (if using) and secure it with archival tape or hinging tape.
- Place the matted artwork (or just the artwork if you’re not using a mat) onto the foam core backing.
- Secure the backing to the artwork with archival tape.
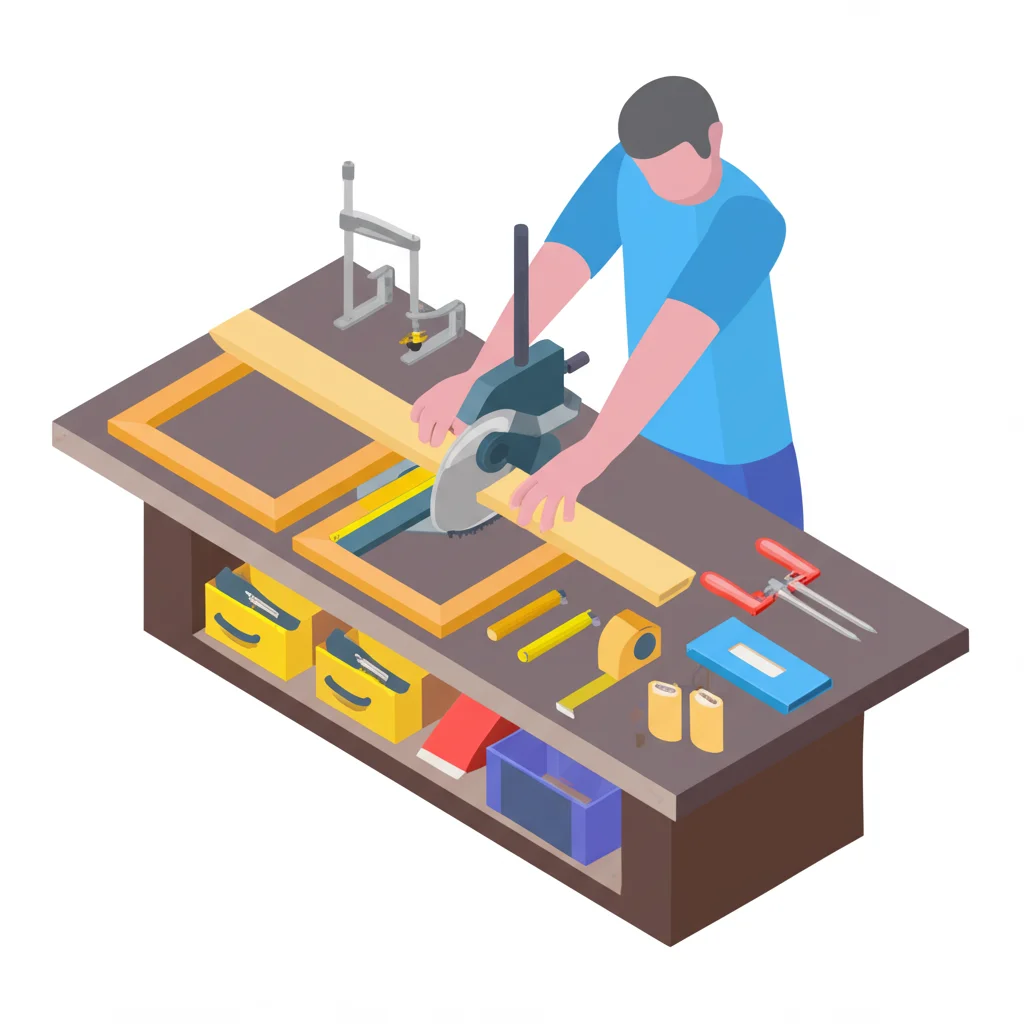
Assembling Your Frame: Bringing it All Together
Now that your artwork is matted and mounted, it’s time to assemble the frame. If you’re using a pre-made frame, simply insert the artwork, backing, and glazing into the frame. Ensure everything is snug and secure. If you’re building your own frame, you’ll need to assemble the four pieces of moulding using corner clamps, wood glue, or a miter saw. Follow the manufacturer’s instructions carefully to ensure a strong and square frame.
Once the frame is assembled, carefully insert the glazing, matted artwork, and backing. Secure everything in place with flexible points or brads. These small metal fasteners hold the components of the frame together and prevent them from shifting or falling out. You can purchase a flexible point driver or use a staple gun to insert them.
Hanging Your Masterpiece: The Finishing Touch
Congratulations! You’ve successfully framed your 11×17 art. Now, all that’s left to do is hang it on the wall. Attach D-rings to the back of the frame, positioning them evenly on either side. Thread picture hanging wire through the D-rings, ensuring it’s taut and secure. Measure the distance from the top of the frame to the wire when it’s pulled taut. Use this measurement to determine where to place the hook on the wall.
Use a level to ensure the frame is straight before hammering the hook into the wall. Hang your framed artwork and step back to admire your handiwork! I personally use these steps to frame everything! Here’s a quick checklist to keep in mind during the process:
- Measure your art carefully.
- Select an appropriate frame style.
- Cut your mat (if using) with precision.
- Secure the artwork with archival tape.
- Assemble the frame carefully.
- Hang your masterpiece with pride.
Choosing the Right Glazing: Glass vs. Acrylic
The glazing, which is the transparent material that covers the artwork, is an essential component of any frame. It protects the artwork from dust, dirt, moisture, and UV damage. The two most common types of glazing are glass and acrylic, each with its own set of pros and cons.
Glass is the traditional choice for glazing. It’s relatively inexpensive, offers excellent clarity, and is easy to clean. However, glass is heavy and prone to shattering, which can be dangerous. Acrylic, on the other hand, is lighter, shatter-resistant, and offers good UV protection. However, acrylic is more expensive than glass and can scratch more easily. Choosing the right glazing depends on your budget, the value of your artwork, and your personal preferences.
| Glazing Type | Pros | Cons | Best For | Cost |
|---|---|---|---|---|
| Glass | Excellent clarity, Inexpensive, Easy to clean | Heavy, Prone to shattering, Offers minimal UV protection | Lower-value artwork, Budget-conscious framing | Low |
| Acrylic | Lightweight, Shatter-resistant, Offers good UV protection | More expensive than glass, Can scratch easily, Can attract static | Valuable artwork, High-traffic areas, Homes with children or pets | Medium to High |
| UV Protective Acrylic | Lightweight, Shatter-resistant, Blocks 99% of UV rays | Most expensive option, Can still scratch easily | Extremely valuable or light-sensitive artwork | High |
| Non-Glare Glass | Reduces glare, Good clarity | Can slightly soften the image, More expensive than standard glass | Artwork displayed in brightly lit areas | Medium |
| Non-Glare Acrylic | Shatter-resistant, Reduces glare | More expensive, Can scratch easily, Can have a slightly cloudy appearance | High traffic areas, where reflection is a concern | High |
Cost-Effective Framing: Saving Money Without Sacrificing Quality
Custom framing can be expensive, but there are ways to save money without sacrificing quality. One of the easiest ways to save is to shop around for pre-made frames. Look for sales and discounts at craft stores and online retailers. You can also consider building your own frame from scratch using inexpensive wood moulding. It’s a bit more work, but it can save you a significant amount of money.
Another way to save is to cut your own mat. Mat cutters can be purchased for a relatively low cost, and they allow you to cut mats to any size you need. Finally, consider using acrylic glazing instead of glass. While acrylic is more expensive than glass, it’s shatter-resistant, which can save you money in the long run if you accidentally break the glazing. You can also look for retailers that offer coupons.
Maintaining Your Framed Art: Keeping it Looking Its Best
Once you’ve framed your art, it’s important to take steps to maintain it and keep it looking its best. Dust the frame and glazing regularly with a soft cloth. Avoid using harsh chemicals or abrasive cleaners, as these can damage the frame or glazing. If you notice any dirt or smudges on the glazing, use a glass cleaner or a mild soap and water solution.
Keep your framed art out of direct sunlight and away from sources of heat or moisture. Direct sunlight can fade the artwork over time, and heat and moisture can cause the frame to warp or crack. If you live in a humid climate, consider using a dehumidifier to help control the moisture levels in your home.
Repairing Damaged Frames: Extending the Life of Your Display
Accidents happen, and frames can sometimes get damaged. If your frame gets scratched or dented, you may be able to repair it yourself. Minor scratches can often be buffed out with a polishing cloth. More severe damage may require professional repair.
If the glazing breaks, replace it immediately to protect the artwork. You can purchase replacement glass or acrylic at most hardware stores or frame shops. If the frame comes apart, reassemble it using wood glue and corner clamps. If the damage is too severe to repair yourself, take the frame to a professional framer.
When to Seek Professional Help: Knowing Your Limits
While DIY framing can be a rewarding experience, there are times when it’s best to seek professional help. If you’re framing a valuable or irreplaceable piece of art, it’s always a good idea to consult with a professional framer. They have the expertise and equipment to ensure that your art is properly protected and preserved.
If you’re not comfortable cutting your own mat or assembling a frame, don’t hesitate to ask for help. A professional framer can handle these tasks for you, ensuring a perfect result. Knowing your limits is key to achieving a beautiful and long-lasting frame job. And remember, sometimes it’s worth the investment to ensure your cherished artwork receives the care it deserves. In fact, there are local framers I always recommend Michaels because of their expert care in the process.
Pros & Cons
- Pros:
- Cost-effective compared to professional framing.
- Allows for complete customization and personal expression.
- Provides a sense of accomplishment and creative satisfaction.
- Develops new skills and knowledge in framing techniques.
- Offers flexibility to change frames and mats as desired.
- Cons:
- Can be time-consuming and require patience.
- Requires purchasing and storing tools and materials.
- May involve a learning curve for beginners.
- Potential for mistakes that can damage artwork or materials.
- Quality may not always match professional framing, especially for complex projects.
FAQs
1. What type of tape should I use to secure my art?
- Always use archival or acid-free tape to prevent damage to your artwork over time. Avoid using masking tape or other tapes that may yellow or become brittle.
2. Can I use cardboard as a backing board?
- It’s best to avoid using cardboard as a backing board, as it can contain acids that can damage your artwork. Opt for acid-free foam core or mat board instead.
3. How do I clean acrylic glazing?
- Clean acrylic glazing with a soft, lint-free cloth and a mild acrylic cleaner. Avoid using glass cleaners, as they can damage the acrylic.
4. What size mat should I use for an 11×17 print?
- A mat width of 2-3 inches is generally a good starting point for an 11×17 print, but you can adjust the width to suit your personal preferences.
5. How do I prevent my artwork from fading?
- Protect your artwork from fading by keeping it out of direct sunlight and using UV-protective glazing.
Conclusion
Framing your own 11×17 art is a rewarding and empowering experience. It allows you to personalize your décor, protect your cherished pieces, and save money in the process. With the right tools, materials, and techniques, you can achieve a professional-looking frame job that you’ll be proud to display for years to come.
So, what are you waiting for? Grab that print, gather your supplies, and unleash your inner framer! Your art deserves to be seen, appreciated, and protected. Take the leap, embrace the DIY spirit, and transform your house into a home, one beautifully framed piece at a time. Ready to showcase your unique style and save money? Start framing today and see the difference it makes! Click here to find all the supplies you need for your first project!