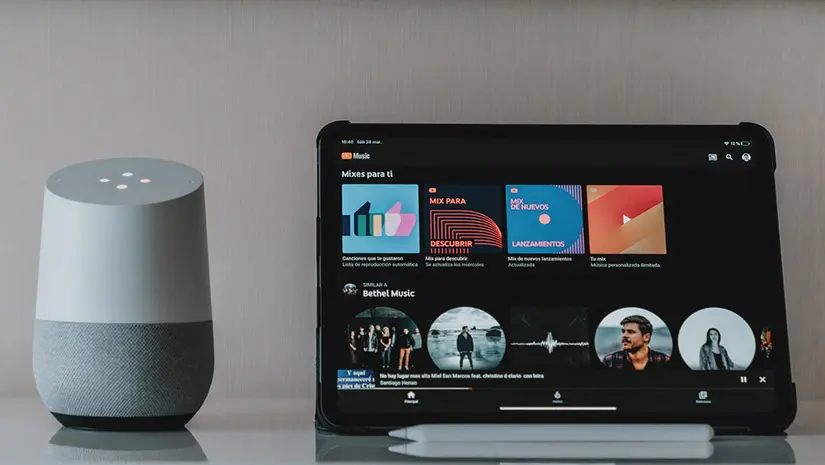
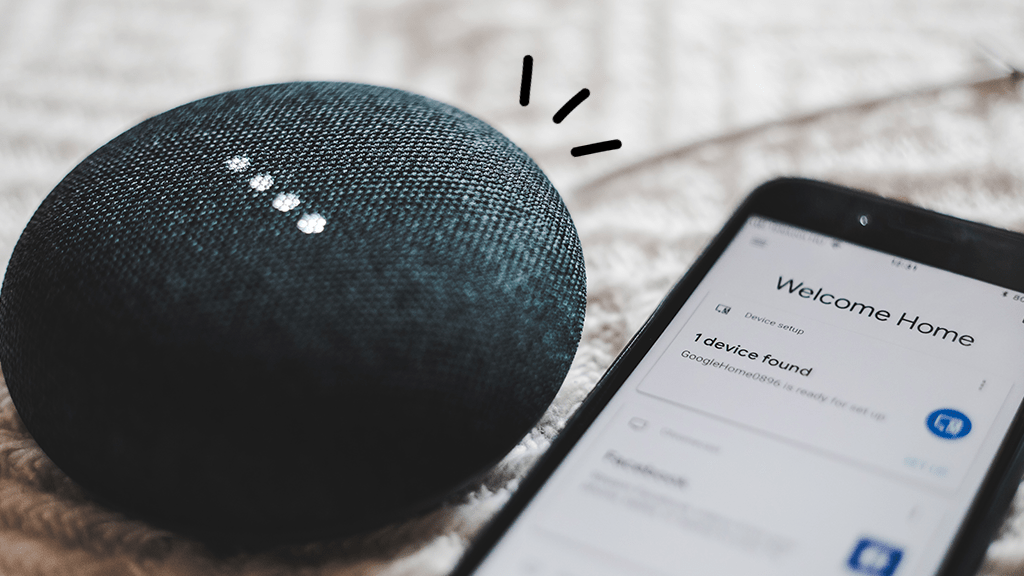
Google Home, a smart speaker powered by Google Assistant, has revolutionized how we interact with technology in our homes. This device allows you to control various smart home gadgets, get real-time information, play music, and much more using voice commands. But first things first, you need to know how to connect your Google Home to your WiFi network. Here’s a straightforward guide to get you started, whether you’re a tech wiz or a complete beginner.
What You’ll Need:
Before diving into the connection process, ensure you have the following:
- Your Google Home device (including Mini, Nest Mini, Hub, Nest Hub, Max, or Nest Hub Max)
- Your smartphone or tablet
- Your WiFi network name (SSID) and password
- Google Home App

Steps to Connect Google Home to WiFi:
Download the Google Home App: If you haven’t already, download the free Google Home app from the App Store (for iOS) or Google Play Store (for Android).
Power Up Your Google Home: Plug in your Google Home device and wait for it to light up or make a sound, indicating it’s ready for setup.
Open the Google Home App: Launch the app on your smartphone or tablet.
Start Setup: Look for a prompt like “Set up device” or a “+” symbol in the app. Tap on it to begin the setup process.
Select Your Device: The app should automatically detect your Google Home device. If not, follow the app’s on-screen instructions for manual selection.
Connect to WiFi: The app will display a list of available WiFi networks. Choose your home WiFi network from the list.
Enter Your WiFi Password: Carefully enter your WiFi network password exactly as it appears. Remember, passwords are case-sensitive.
Connect and Wait: The app will attempt to connect your Google Home device to your WiFi network. This might take a few minutes.
Success! Once connected, the app will notify you that your Google Home device is ready to use. You can now follow the app’s prompts to personalize your settings and explore all the functionalities Google Home has to offer.
Troubleshooting Tips:
- Double-check WiFi Password: Ensure you’ve entered your WiFi password correctly, including uppercase and lowercase letters, numbers, and symbols.
- Restart Devices: If you encounter connection issues, try restarting both your Google Home device and your WiFi router. Simply unplug them for a few seconds and then plug them back in.
- Check Network Strength: Make sure your Google Home device is within a strong WiFi signal range. Consider moving it closer to your router if necessary.
- Google Home App Updates: Ensure you have the latest version of the Google Home app installed on your smartphone or tablet. Updates often contain bug fixes and performance improvements.
Changing the WiFi Network
When you change the Wi-Fi network for your Google Home device, several things happen to your settings. First, your Google Home device will be disconnected from the previous Wi-Fi network that it was connected to. This ensures that the device is no longer linked to the old network. Additionally, you will need to manually “Forget” the current Wi-Fi network in the Google Home app settings for the device.
This step is crucial to ensure the device is no longer connected to the old network. After forgetting the old network, you will need to set up your Google Home device on the new Wi-Fi network. This involves selecting the new network and entering the password in the Google Home app. Once you have entered the password, your device will connect to the new network.
It’s also important to note that any other Google devices linked to that Home, such as Nest cameras or smart plugs, will also be automatically reconnected to the new network.Fortunately, your Google Home’s settings, preferences, and linked accounts should remain intact after changing the Wi-Fi network, as long as you don’t perform a full factory reset.
This means that you won’t lose any of your customized settings or linked accounts when you switch to a new network. The process of changing the Wi-Fi network for your Google Home is straightforward and can be done using the Google Home mobile app. By following these steps, you can ensure a seamless transition to your new network and continue to enjoy the features and functionality of your Google Home device.
FAQs
How to Change WiFi Network on Google Home?
To change the WiFi network your Google Home is connected to, open the Google Home app, select your device, tap the settings gear icon, choose “Wi-Fi,” and then select “Forget This Network.” Follow the prompts to reconnect to a new WiFi network.
Can Google Home Connect to Multiple WiFi Networks?
Google Home can only be connected to one WiFi network at a time. However, you can easily switch between networks using the Google Home app.
What to Do if Google Home Won’t Connect to WiFi?
If your Google Home won’t connect to WiFi, try the following steps:
- Ensure your WiFi network is operational and the password is correct.
- Restart your Google Home device and router.
- Move the Google Home device closer to the router.
- Reset the Google Home device and start the setup process again.
How to Reset Google Home?
To reset your Google Home device, locate the reset button on the device. Press and hold the button for about 15 seconds until you hear a chime. This will reset the device to its factory settings.
Recap of Key Points
Connecting your Google Home to WiFi is essential for utilizing its full range of features. By following the step-by-step guide, you can easily set up your device, troubleshoot any issues, and optimize performance. Once connected, explore the various features and integrations available with Google Home. Customize your device, set up smart home integrations, and enjoy the convenience of voice-controlled technology.
This guide applies to most Google Home devices. Slight variations in the setup process might exist for specific models. Refer to your device’s manual for any specific instructions. For troubleshooting beyond these basic tips, you can visit the Google Home support website or contact Google support directly.
Now that your Google Home is connected, you can start exploring its vast capabilities! Enjoy playing music, setting alarms, controlling smart home devices, and accessing a world of information—all through voice commands.
If you encounter any issues or need further assistance, refer to the FAQs section or visit the Google Home support page for more detailed guidance. Happy Connection!


